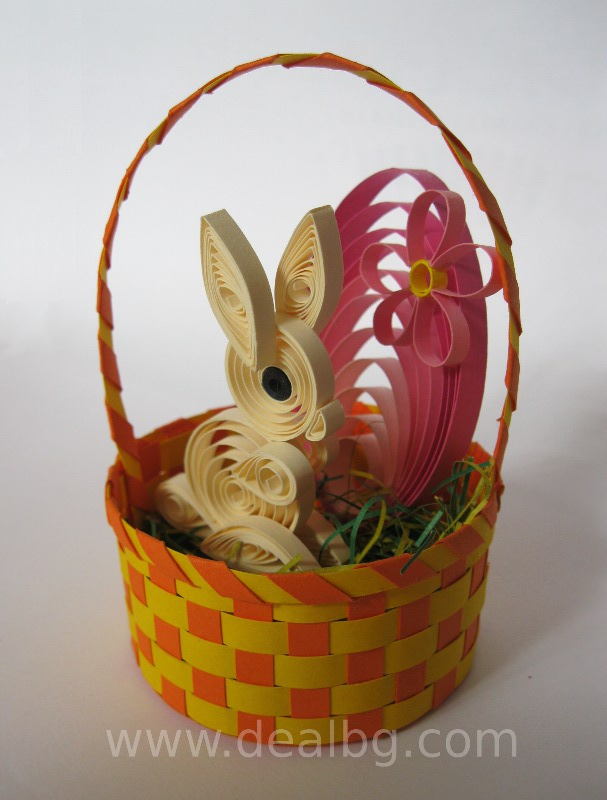
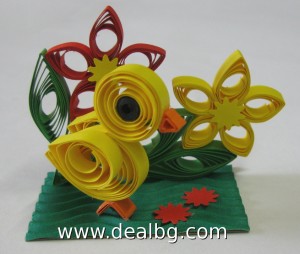
 Quilling is a popular technique for decorations from rolled paper strips. One can craft beautiful Easter decoration following this tutorial. Patience may also be necessary, as the process might take a while.
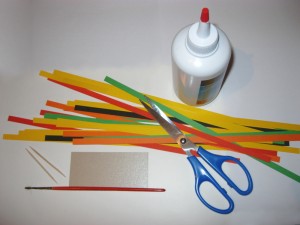
The materials and instruments you will need are: cardboard 160 g / cm in yellow, orange, black, green and red, glue (here we use C 200), scissors, two toothpicks, thin brush or a stick with a diameter of about 3 mm and also a piece of cardboard for basis (in our case the grass).
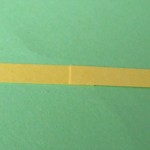
You begin with cutting several paper strips with a width of 5 mm (7 mm can also do, if you are not very sure in our skills). You get strips with a length of 30 cm from cardboard A4.
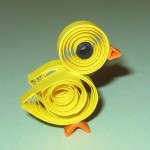
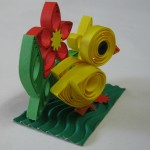
For the chicken in the photo we will need five yellow strips – one 30 cm long strip for head and 2 strips with a length of 20 cm for each wing and for the body – strip and a half – 45 cm.
As we are beginners, we will cut more yellow strips and then choose the best of them and use them to assemble the chicken. The rest will be needed for the extra decoration (flowers).
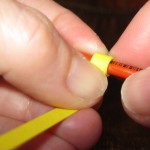
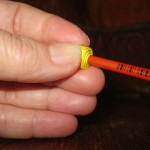
Let’s try to roll up a strip with the handle of the brush.
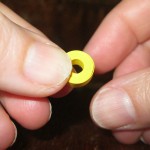
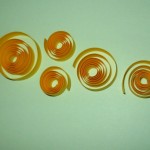
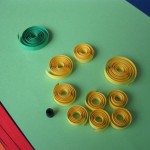
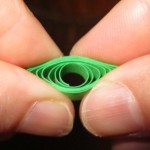
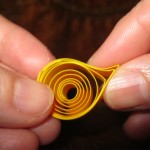
Now we can start rolling the strips. Be sure to press the paper with your fingers. This way you will obtain a denser spiral. Once you roll the strip to the end, release it.
We will work with glue in small portions, so you can pour the glue in a bowl or on a piece of paper and apply it with a toothpick. First you have to glue the ends of the coiled strips. Try to make the ones for the wings with equal size and shape.
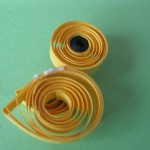
For the body of the chicken you will have to glue together a strip and a half strip. The area of bonding should be about 5 mm.
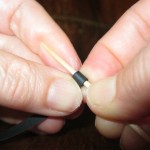
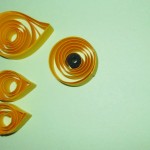
We will need a 5 cm black strip for the eye of the chicken. You must curle it tightly using a toothpick. Put the ready black cylinder at the center of the strip, which will serve as head.
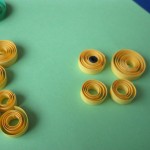
Use your fingers to shape the wings and the body in a droplet form and glue the head and wings to the body.
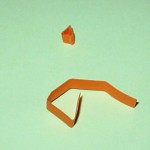
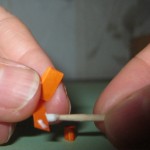
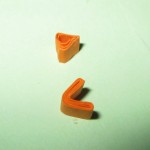
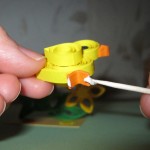
Make a small triangular beak and legs from the orange strips and glue them to the body and head. Make sure that the chicken can stand steadily on his new legs.
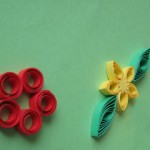
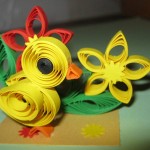
Use the remaining strips to shape the flowers and leaves for our background. The leaves are made using 30 cm long green strips. The petals are made from 15 cm long yellow and red strips.
Arrange them by gluing them together and finally attaching them to the base. We can also use additional elements for decoration, such as flowers, made using a paper-punch.
Good luck and don’t forget to have loads of fun!

